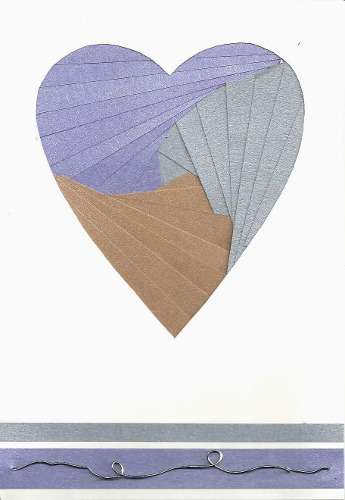
With Valentine’s Day just a few days away, how about making some cards for those special people in your life. To make this beautiful card, you’ll need:
7 x 10 inch piece of cardstock, scored and folded in half
6¾ x 4 ¾-inch piece of white cardstock
strips of iridescent or metallic paper (You can use whatever coordinating papers you have on hand). I cut the strips not quite ½-inch wide.
Iris Folding heart pattern/heart shape
Piercing tool or large needle
22 gauge silver craft wire
Scissors, masking tape, sticky tape, double-sided tape or strong gluestick
Print out the valentine iris pattern on cardstock. Cut it out. Place it in the center of the 6¾ x 4 ¾-inch cardstock and trace around it. Now make a heart-shaped opening by carefully cutting it out. Adhere to your work area. Place the cut-out over the heart pattern (you’ll be able to see the heart pattern through the hole) and tape in place with masking tape.
Starting with number one, place a strip of paper along the inside of line 1. Trim off the ends and tape it in place. This side won’t be seen in the finished product so don’t worry about how it looks.
Next place a different colored strip of paper inside of line 2. You will use a different color on each side. Keep working your way around the heart, following the numbers. When you get to the center (the iris) of the design, you can use a different color, if you like.
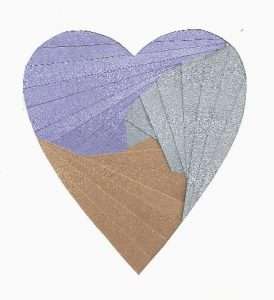
Gently pull the tape off your card and turn it over to admire your work.
To finish the card, glue 2 strips of paper along the bottom as shown. Make holes on both sides of the card. Make loops and twists in your wire to make it more interesting and then insert the ends of the wires in the holes. Pull the wire taut and flatten it. Cover the wire ends with tape.
Adhere to the front of your card.
I chose to use lavender, light brown and silver as my color theme but you can pick any 3 coordinating colors. For example, red, pink and white.
Watch as a video on Youtube