I very much enjoy taking everyday, ordinary items and using them to create art. I particularly like to take discarded items, aka junk and turn them into art. Since my kids are teenagers and no longer pay much attention to their toys, I’ve started digging around in the toy box to look for things that could be used in my creations.
I find other people’s examples of assemblage art very inspiring, so I decided to share some of my assemblage art projects I made using small plastic animals.
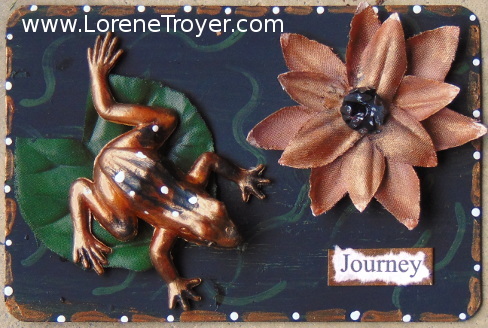
Last month I made an art card using a plastic toy frog. I painted it with copper paint, added some black and then some white dots. I put it on a lily pad made by cutting a silk leaf in the shape of a circle and cutting a “v” shape on one side. I made the lily by cutting up some flower petals and gluing them back together and adding the plastic stamen to the center. The background was tricky. I needed it to be black to showcase the copper but the thought of black water did not appeal to me. Anyway, I went with it, added some green swirly marks and ended up liking it.

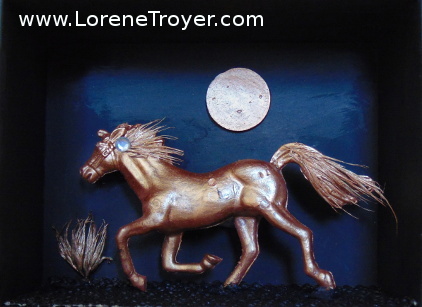
Another of my assemblage art projects was inspired by a horse I found in the kid’s toy box (not a real one, of course). I immediately painted it with my copper paint and over the next few days, I contemplated on what to do with it. I found some “wispy” dried botanical material in one of my craft boxes and added it to the mane and tail and glued a sparkly gem on the horse. I kept thinking about a moonlight scene, so I went with it. I found a small box, painted it black on the inside, made a moon out of clay, added a dried flower head to the scene and my assemblage art project was complete.

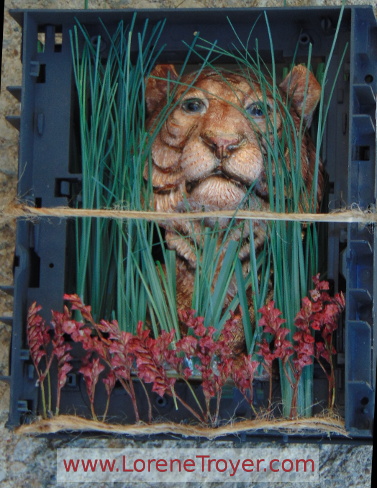
Here is another example of an assemblage art project I made, using a plastic tiger head I bought from the Dollar Store. I began by painting it with my copper paint. Then I discovered that it fit perfectly in a (DVD drive?) case that came out of my old computer. I spray painted the case and put the tiger inside of it. I glued stems of silk grass beside the tiger head to go give the idea of the tiger crouching in the grass. The issue I ran into was that the base protruded quite a bit and I also wanted to hide it. I tried several different items and finally decided that small flowers would work the best. I found some dried white flowers and dipped them in watered down red acrylic paint and glued them in place with tacky glue (I use that stuff a lot, here lately).

Hopefully, these three examples of assemblage art projects made from toys will inspire you to create your own. Don’t worry about how it will end up, just choose an item and decide what to use as a base and follow your instincts. Happy creating!