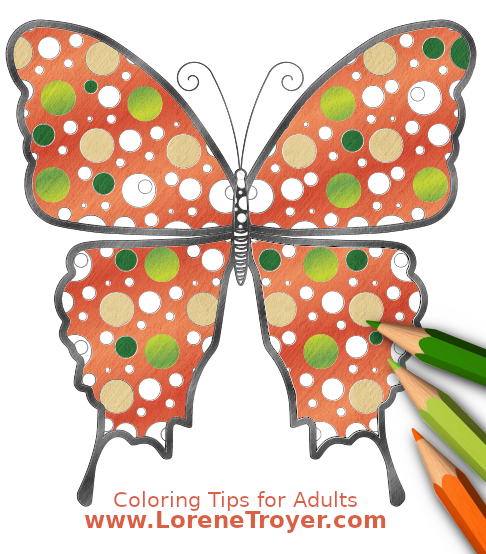
In the previous article, How Coloring Can Benefit Artists, I addressed the benefits of coloring for artists, and how coloring is a fun way to improve your creative skills at times when you’re tired, don’t have much time or just aren’t feeling very creative.
Coloring books are available in a wide variety of themes and topics, ranging in price from $1 to $25. Instead of coloring boos, another option is to print coloring pages from the internet. Simply search for “coloring page” + whatever topic you are interested in. If you think you may want to use it in art that you plan to sell, make sure that commercial use is okay.
Here are some places to get some free coloring pages that can be used commercially
Here are some coloring books you can buy from Amazon.
Even though most of us know how to color, seeing that we probably colored when we were children, there are things we can do to make our coloring projects more successful. Here are some ideas.
Figure out what subject you enjoy most when it comes to coloring before you spend a lot of money on coloring books. A good way to test is by printing out free coloring pages on a variety of topics. I discovered that I like coloring books with small to medium sized designs of birds, flowers and butterflies.
When using colored pencils or crayons, use light layers at first, otherwise you’ll build up too much waxy build-up and won’t be able to blend.
Blending is an important part of creating colored pencil art. There are many techniques you can use to accomplish this.
The artist, Carrie Lewis, in the article, The Only Methods You’ll Ever Need for Blending Colored Pencil, states that there are three main ways to accomplish this: pencil blending, dry blending and solvent blending.
To do pencil blending, also called burnishing, you first color your image using light layers of color and then go over the colors with more pressure, using a lighter colored pencil.
Dry blending can be done by going over your image with a stiff brush or rubbing it with a fair amount of pressure using a colorless blending pencil, a tortillion (blending stump) or a folded piece of tissue.
Solvent blending involves using a liquid such as turpenoid, mineral spirits, baby oil or rubbing alcohol on a cotton swab or a blending stump to blend and smooth out the colors.
Blending will produce a rich, smooth finish that can make your image look more like a photograph.
If you want to use watercolor or acrylic paints on your coloring page and are concerned about it seeping through to the other side, you may want to spread a light layer of clear gesso or matte gel medium onto your page before coloring. Beware that some types of gesso can ruin your markers. Research and test first if you plan to use markers on your coloring pages.
Another idea is to put a sheet of paper between the page you’re working on and the next page to protect it.
Add texture with crayons. While some coloring book artists stay away from crayons, other artists like to use them to add texture to their coloring page. It’s the same concept we used in elementary school art class. We placed a leaf or coin or other textured item under our paper and lightly rubbed the top of the paper with a crayon to bring out the texture. Experiment with this idea. It’s a lot of fun.
You can also add texture and interest by making dots, small circles, lines or crosshatching with your pencils, gel pens or markers.