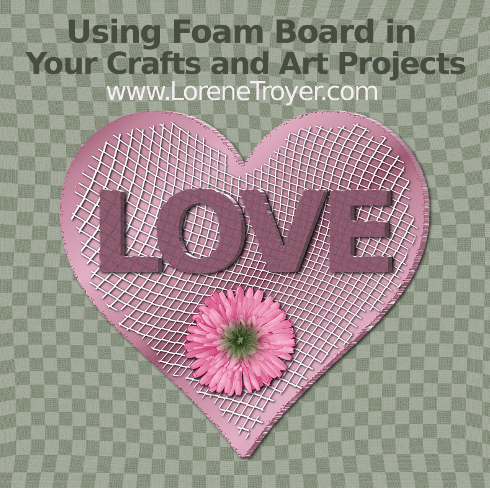
There are many benefits to using foam board in your crafts and art projects. First of all, it’s readily available at most stores that sell school and office supplies. Second, it’s inexpensive- I buy mine for a dollar at my local Dollar Store. Third, it’s easy to cut with a craft or utility knife. Foam board is actually quite sturdy and versatile. Many people use it to build cornice boards, shelves etc.
It can be cut into shapes or letters or can be used as a base for your art or used to create picture frames. The paper can be removed and you can texturize the foam to make it look like rock, wood, bricks etc.
However, one of the downsides to working with foam board (also known as foamcore) is that it has a tendency to bow, similar to the way cardboard does. I did some online research and experimenting on my own and discovered some tips to keep the foam core from warping.
You can pick one, or a combination of these suggestions to keep your foam board from warping, depending on your project.
- Whatever you do one one side, do to the other side as well. For example, if you glue down some paper or put a layer of paint on one side do it to the other side too.
- As it’s drying put it under some heavy books or magazines etc.
- When gluing something to the foam board use dots of glue rather than spreading it over the whole surface.
- Use a glue stick to attach items, rather than glue.
- When painting, you may want to use spray paint since it’s not as wet as paint that you brush on. Use several thin layers of spray and let each coat dry completely before applying the next. Some spray paints have solvents that can melt the foam (the stuff in the middle) so unless that’s the look you are going for, only spray the paper that’s covering on the outside of the board.
- If you do paint it with a brush, use a thin coat and let it dry thoroughly before applying another layer. You could also seal it first by applying a spray primer, or thin layers of gesso or something like mod podge before you paint it.
- If you don’t need the foam board to be stiff, you can remove the paper by first soaking it with rubbing alcohol. This will diminish warping and allow you to bend it, shape it or apply it to a flat board.
Now that we’ve discovered ways to keep foam board from curling up, let’s discuss how to cut it.
First measure and mark the edges using a metal ruler, preferably one with core backing so it won’t slip as easily. Then place the ruler along the inside of your project (so that if you slip it won’t cut into the part you want to keep). Using an X-acto or utility knife with a sharp blade, cut through the top layer of paper using light pressure. Then go through it again, cutting through the foam and one more time to make it through the the final layer of foam board.
Foam board has a lot of possibilities. Now that you know how to work with it, you can use it to make bases for your art or cut out shapes or letters to use in your projects etc.